Our 2018 Kitchen Rennovation To The Nest
<< Previous | Kitchen | Demolition | Plaster '70s Wall | Plaster Cabinet Wall | Wall Cabinets | Sink Cabinets | Plumbing | Plaster Sink Wall | Flooring | Cabinets | Countertop and Sink | Finishing Touches | Next >>
(Thursday - 8 March 2018)
Sitting here updating this waiting for Ann to get home so we can go out for dinner (again). Had I not been
busy working from home all day I could have covered everything and sanded the walls! Good thing I didn't.
(Friday - 9 March 2018)
Today is the day for that. I take my sweet time getting to it though. I spend the early part of the morning
at the eye doctor's for a follow up on my cataract surgery. I developed a large floater in my left eye that
bothers me every time I move my eye back and forth, like when reading a book or looking back and forth at
my computer monitors, which I do for a living just about every day. So he affirmed that my options are:
"live" with it or more surgery. While I think they left something behind from the original surgery, how
would I prove it? And what difference would it make? I'd still need more surgery. In any case I had them
only dilate the left eye so I could still see what I was doing with the right.
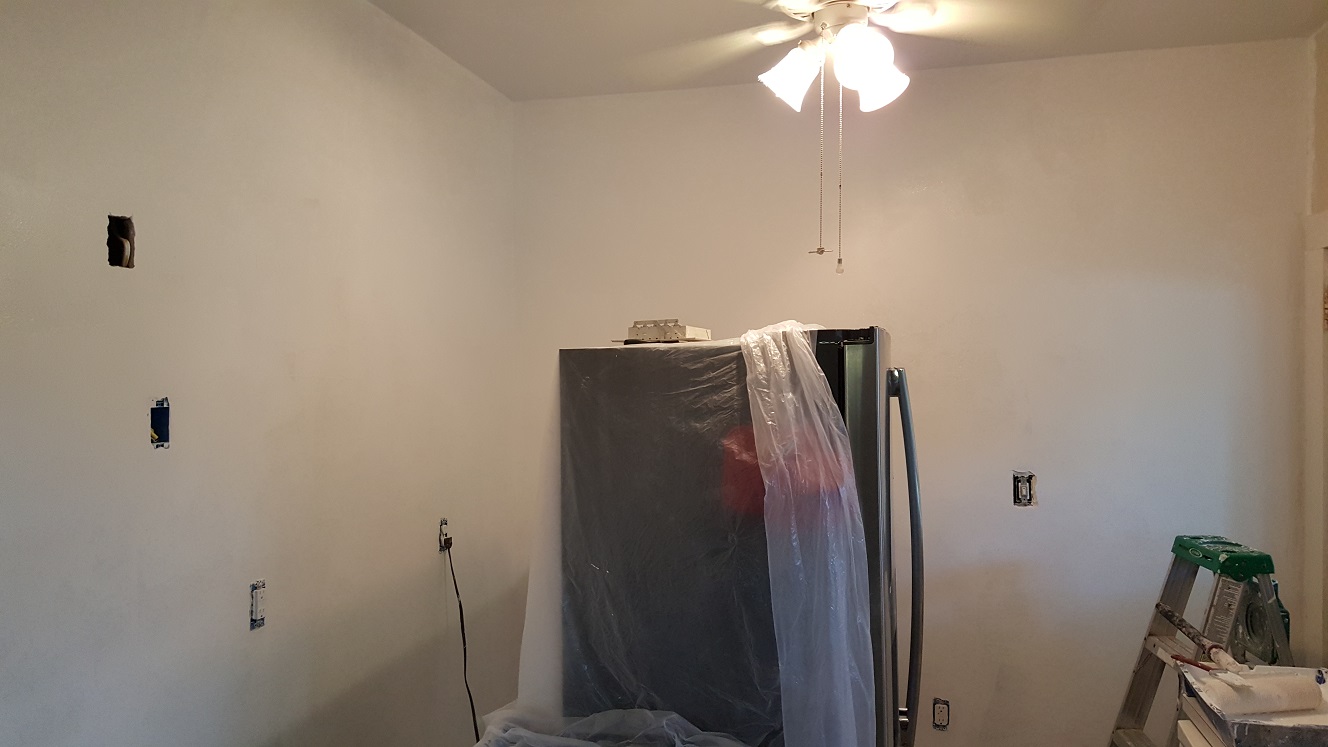
That took about an hour or so and even though I can still see fine with the right eye, the left one is distracting me. I put on another half pot of coffee, sit back, and watch some video while I finish it. Maybe another couple of hours. About the time I'm pulling a bowl out of the dish washer for some cereal, Nick walks in and asks if I want some lunch. Guess I won't be needing this I tell him as I'm putting the bowl back. So there's another hour and it's after noon. I had already started prepping by moving the microwave and coffee pot to the dining room table and covering everything with the plastic dropcloth. I had also pulled out the appliances from the wall and covered them too.
Once Nick heads home I grab the new sanding block vacuum thinger and get started sanding. And sanding. And sanding. For five hours straight. I've used up all of the 120 grit screens I have, including the one that came with the new sanding block. It's after five o'clock and I still have the bit behind the door that I can reach sitting on the floor when Nick walks in. We can either order in or cook if I'm to the point that I can gets things cleaned up. I tell him let me finish this last bit then we can clean up and cook. As I manage to get the last bits done, Nick says it sounds like the vacuum is clogged.
It probably is, but I'm not stopping to empty it with minutes left before I'm done and can empty it for the day. When I do go to empty it, I see that the bag is full and has burst, filling the inside with plaster dust and clogging the pleated filter element. While it takes me a bit longer to clean up since I have to spend a bit more time on the vacuum than planned, we're still ready to cook before six. Nothing all that exciting, but it is nice to not have to worry about going out to eat somewhere for dinner again.
(Saturday - 10 March 2018)
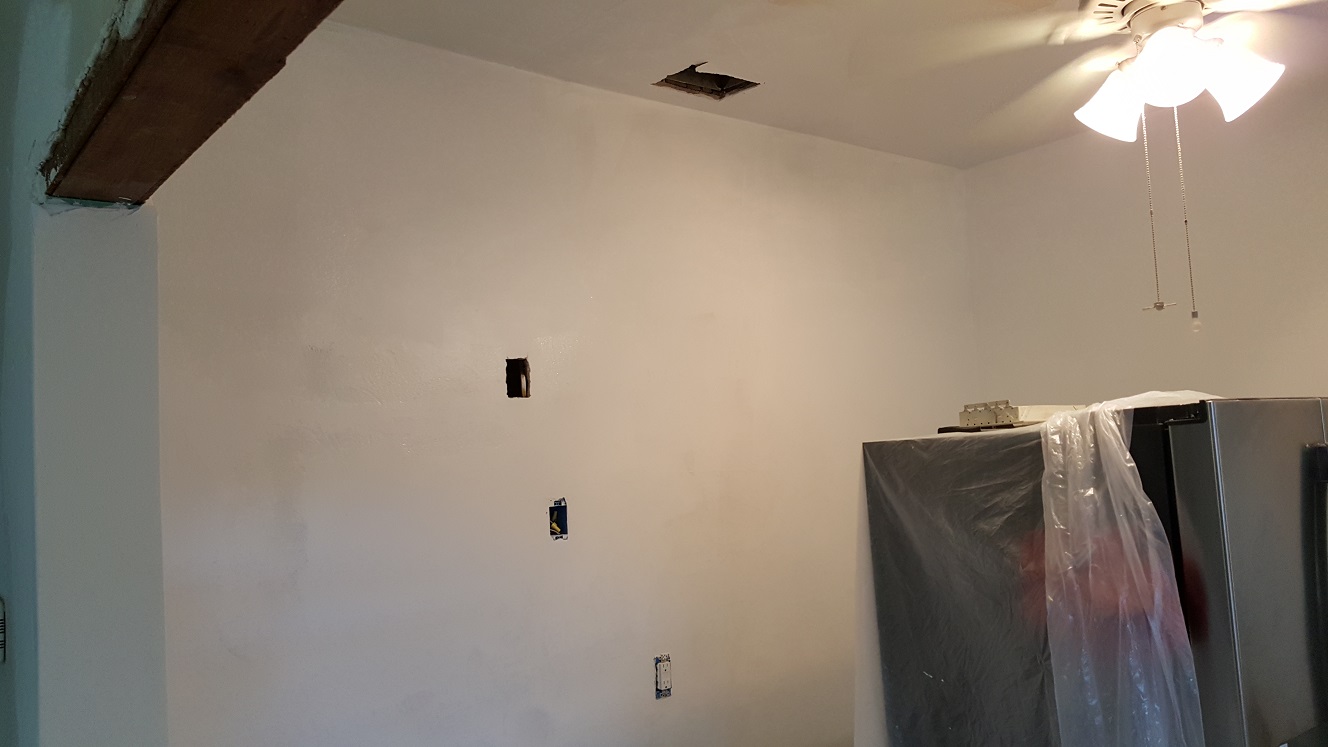
Entering the home stretch of this plastering bullshit, at least the walls I can get to for now. I
still have the large expanse on the underside of the
opening between the kitchen and the dining room to drywall, and I'm dreading what I'll find
when we rip out the sink cabinets, but to start with I'll concentrate on the plaster that needs a
little pockmark filled here and a low spot filled in there. The intention is to paint the cabinet
wall by the end of this weekend at the very least. We'd really love to have the wall cabinets hung
too, but I don't want to get in a hurry, then regret it and have to undo it just to do it over right.
Tonight we set the clocks ahead, spring forward so to speak. I keep asking when are we going to get rid of this stupid bullshit that doesn't buy us anything and actually hurts productivity for up to a month? Well, the Florida House finally voted to keep Daylight Savings Time year round. Finally! Not sure what the history of this stupid and disruptive idea is or who thought it was a good idea to begin with, but I'm certainly glad that there's even a chance of it going away! Anyone with young children or pets knows that just because the government says so doesn't mean the little ones are going to listen. </rant>
Ann and Nick are off to Lowe's yet again, this time to pick up what Nick needs to start pouring his new patio pads. I went through all of my installation instructions to get a list of drill bit sizes I needed, to have them pick them up for me while they're there. Guess we'll see what they come home with. I won't be disappointed if they can't find them all. As I said, if we get to hanging the wall cabinets, let alone the microwave, we'll be pushing it for this weekend. I'm going to let it warm up a bit more before I'm going out in the the 45° weather in my bare feet to mix up the mud.
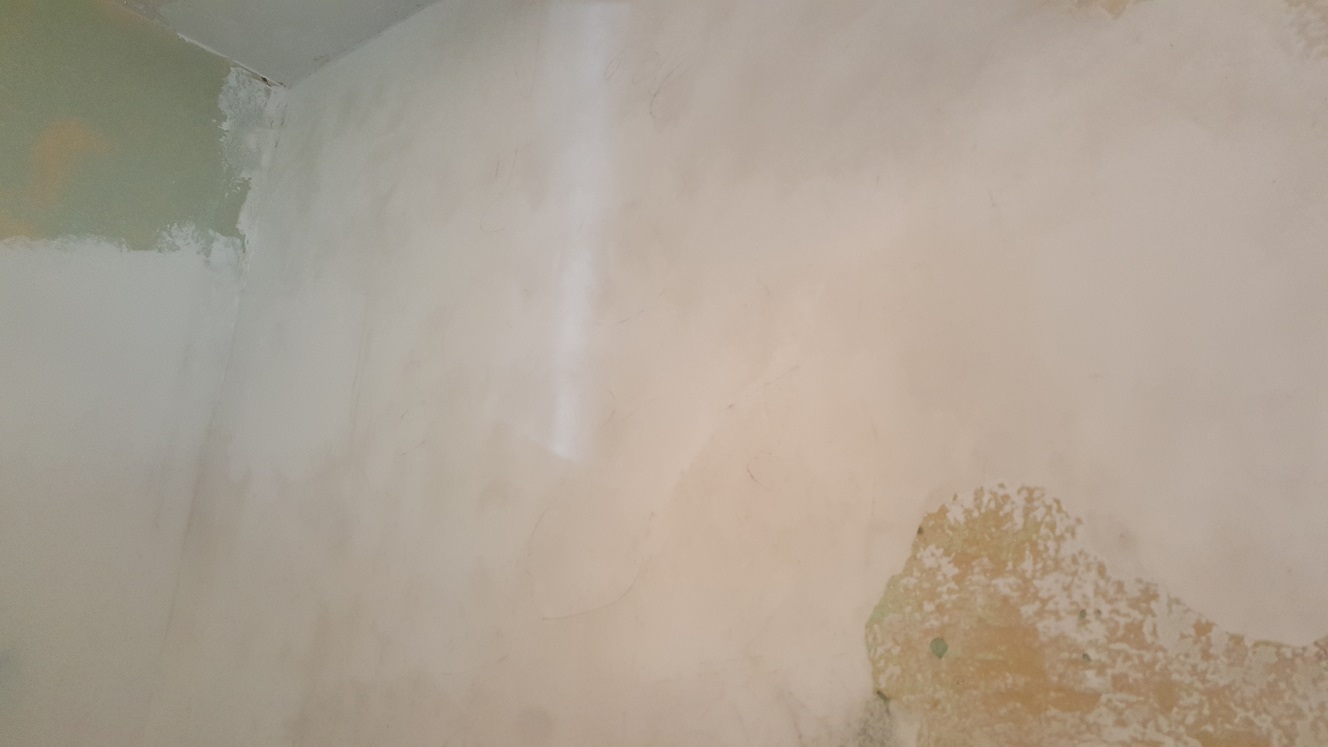
I would get more pictures of the finished walls before paint if I thought they would show anything more than the wide open expanses of white you've already seen. Without the proper lighting it's very difficult to see any of the detail I want to present, and I don't have the time or the inclination to go buy the proper lighting to do so. Suffice it to say that yesterday's sanding frenzy paid off in a big way, with just the pockmarks and low spots left to address. The problem is I won't see what I've missed until the wall is painted. But we're not going to see either if I don't get started, so...
<< Previous | Kitchen | Demolition | Plaster '70s Wall | Plaster Cabinet Wall | Wall Cabinets | Sink Cabinets | Plumbing | Plaster Sink Wall | Flooring | Cabinets | Countertop and Sink | Finishing Touches | Next >>
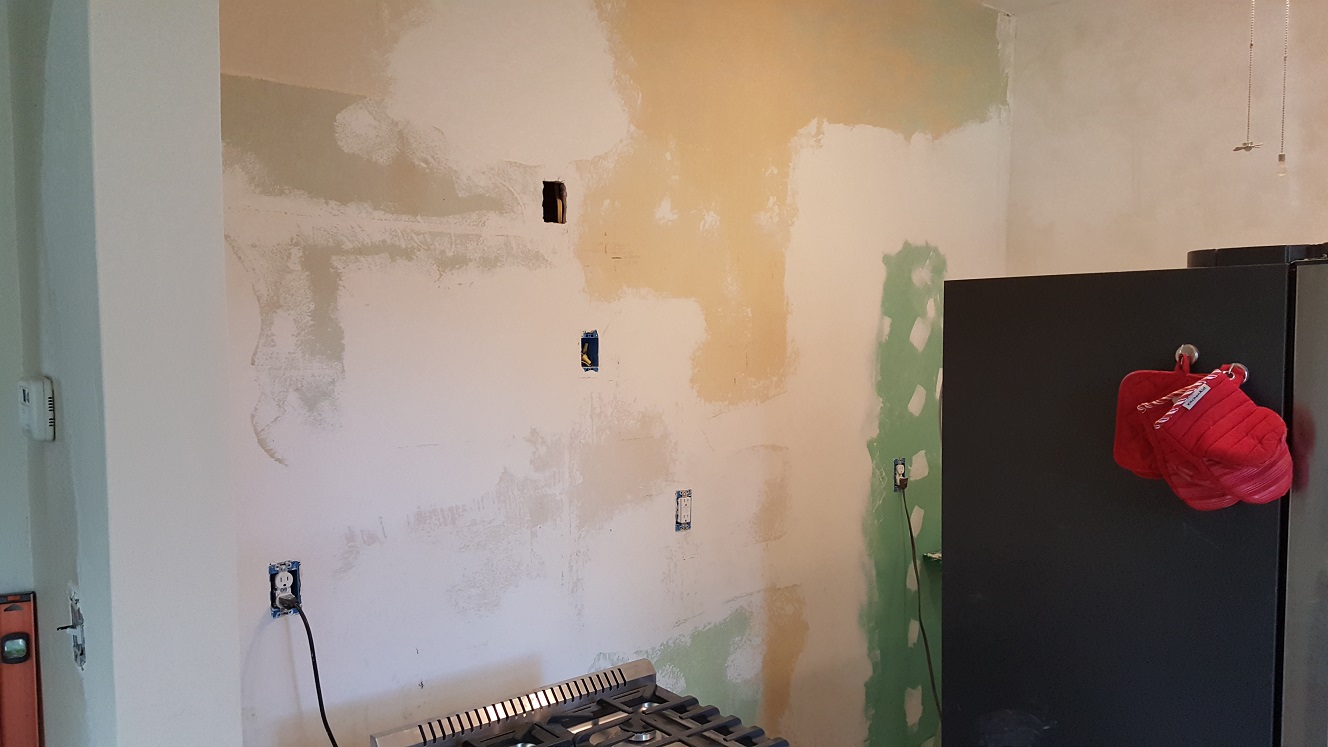
First bucket of mud goes onto the new wall extension, starting on the kitchen side. As I'm applying the mud I'm trying to remember what needs filled in and where. I used my hand, moving it over an area feeling for voids and low spots, before I mixed up the mud. Doing that after mud is on the wall is difficult and messy. Note to self, next time, mark those areas with a pencil or something. While I hadn't planned on doing the opening or dining room sides, I knew I needed to use up the bucket on areas I knew needed done, then go back and mark for the next bucket. Thankfully I had already sanded those areas and I'm able to better build up the bottom where the baseboard sits.
That dining room wall is giving me fits though. Like most of the '70s wall, there aren't many "depth guides" left to follow. Then there's the outlet sitting right in the way of trying to get a nice edge along the trim work. I'll be relying on sanding it to smooth it out, then build up the low spots just like the other wall. The cabinet wall wasn't so bad. Most of the areas that needed built up had an edge close by so that I could use my wide knife and get it close. If anything, the baseboard area near the floor needs the most fill, but it won't show anyway once the baseboard is on.
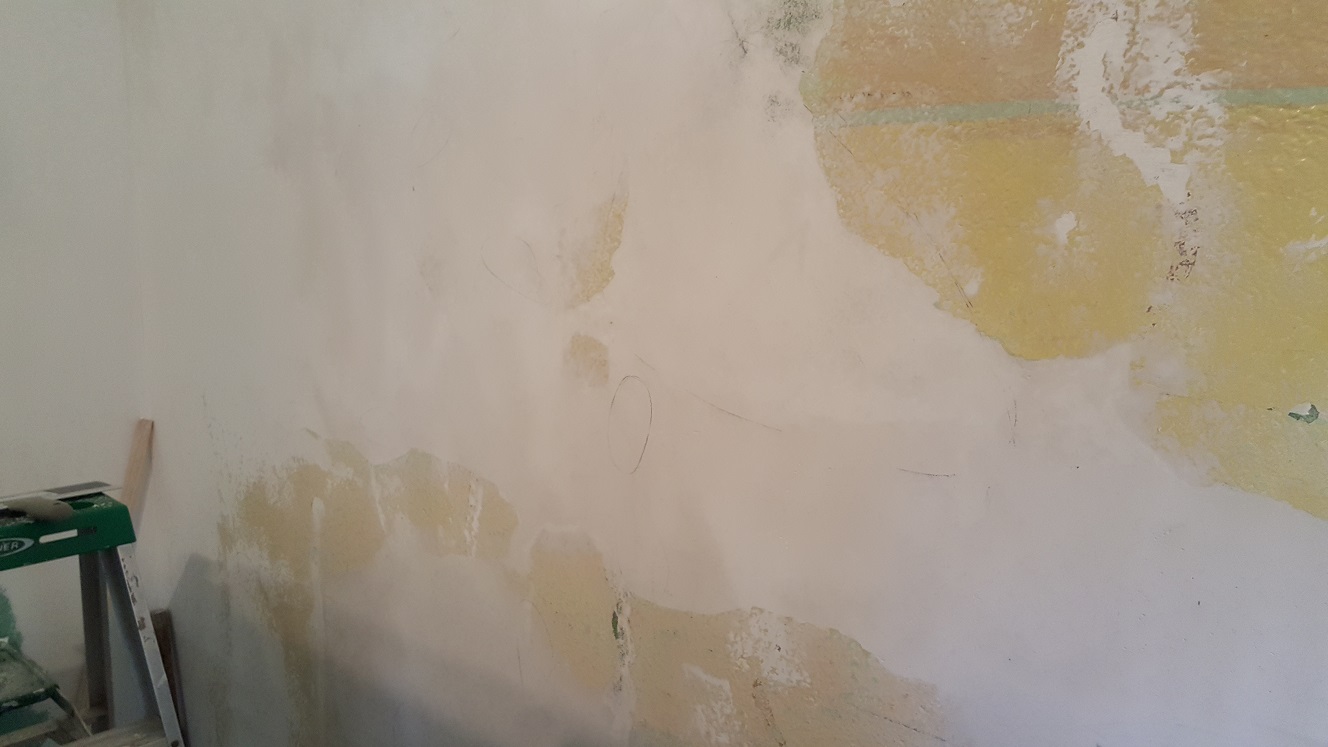
Before I mix up the second bucket of mud, I go around feeling the walls again, this time circling the low spots and voids with a pencil. I'm glad I went around again because this time I can plan out what areas need built up, like where I keep sanding all the way through to the drywall tape. This bucket of mud goes on quickly, but once I get to that '70s wall and the large expanse of set plaster, things start to accelerate. I really think that's what's triggering the quick set more than anything else, that constant contact with the previously set mud. In any case, that's it for the mud (or so I think).
I decide to try to burnish the mud in those two places that reach the ceiling. It goes well except for my constant uncoordinated gouging of the mud. My arms must really be worn out or the angle is bad or something because no matter how hard I try, I can't seem to lift the putty knife far enough off of it to keep from gouging it on the next stroke. I'm thinking to myself, Great! More voids to patch! I decide that's all the burnishing for today. Time to take a break and let my arms rest. I'll need them for the sanding that's still ahead of me.
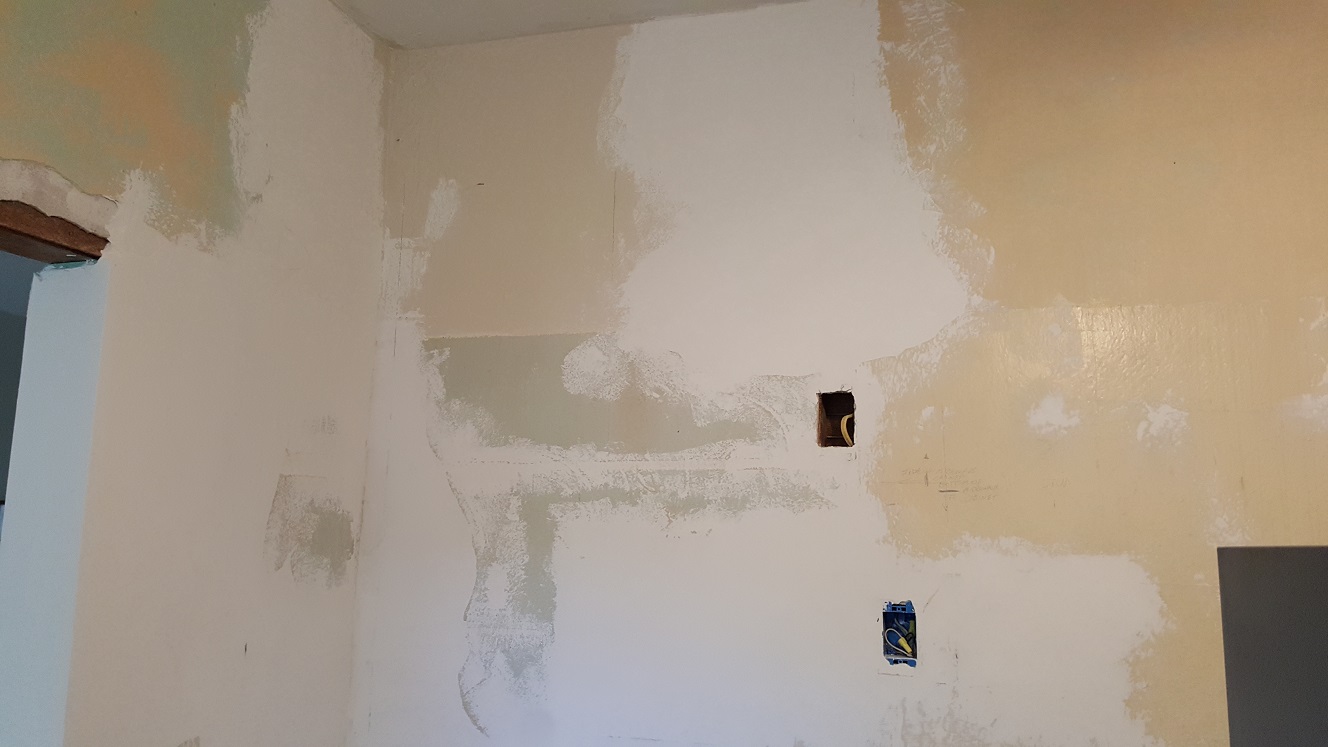
While I didn't plan on sanding today, I figure I might as well. That way the wall is pretty much ready for paint, whether I decide to burnish the rest of the mud or not. There are still some patches that aren't quite dry yet, but for the most part, not where it shows. I start with the cabinet wall since that's the one that will be painted first. I figure anything else is gravy at this point. I start with the 120 grit screen that's already on the sanding block and get the heaviest sanding along the wall extension first, then move to the rest of the heavier areas on the cabinet wall, like around the new drywall in the old doorway.
Even though I'm using the nearly spent screen I manage to once again find that damned drywall tape! Whatever. At this point, I don't care if I ever manage to cover it, it's going to be behind the refrigerator anyway. I switch to a finer 180 grit screen and finish up that wall and the '70s wall. Again, I hadn't planned on it, but now it's done and the wall is ready for burnishing or paint or both. I'm thinking, good, I'm done. Then Ann tells me she's planning on painting the ceiling the same color as the walls and the area of the ceiling where I've peeled the paint off down to the bare plaster will need some mud too. Whew! And here I thought I was done...
I figure this isn't going to take an entire bucket, maybe a half? I've been crudely measuring the material with a quart yogurt container, roughly two of the dry to a bit less than one of the water. This time it's a heaping one of dry and less than half of water. I start spreading it on and it's going well with just skimming it off, and I push it just far enough to finish the bare patch. Alright. Now I'm done for the day. No burnishing tonight. That will wait for tomorrow morning.
(Sunday - 11 March 2018)
So how 'bout that burnishing? I start with the cabinet wall, getting the parts I need the
ladder for first, then the lower parts down to the floor. I can tell my arms still haven't
regained their strength as I'm gouging news voids with the corner of the putty knife right
and left. I'm having to make a conscious effort to make my brain tell my arms to lift all
the way off the wall before making the next stroke. But it seems no matter how hard I try
not to gouge the wall, I'm just screwing up all over the place, and getting more and more
angry with myself!
I'm ready to just throw in the towel and say screw it, but I stick with it, and finally get to the finish line. I must say I'm glad I stuck with it. The difference in finish is night and day. Not so much visibly, but to the touch the surface actually feels smooth, not that "chalky" feel that drywall mud normally has. What is burnishing? Oh, guess I should have explained that before now. Burnishing is using a spray bottle to lightly moisten, not wet, the surface and using the putty knife to compress the surface of the mud using diagonal strokes in one direction, then the other, then up and down, then side to side.
There! That's done. I finish cleaning up and setting up to paint. About the time I sit down from doing that, Ann and Nick are back from the grocery store. Once everything is put away, Ann's out to the shed to get the painting implements and such. She tells me she needs a stirring stick and I tell her good luck with that, I don't have any, but I could probably find her a "stick" that would work to stir with. Then she's looking for the mini roller thingies and we both remember about the same time they're in the box for the new sanding block. She notices the register needs to come off, so up the ladder I go.
Next it's a screwdriver to open the paint can... Oh, nevermind. She found the screwdriver I had just used to take off the last outlet cover in preparation for painting. Then she's back in her toolbox for her little hammer to knock drain holes in the rim of the can. Now it's pour the paint, wet the roller cover, and get busy painting. I have to say, I'm glad it's her doing the painting. Well, priming anyway. It takes her awhile, but first she get's the ladder stuff, then the rest of the cabinet wall. She asks me to grab the wipes out of the hall closet, then proceeds to start scrubbing the paint off her hands and I notice she hasn't primed the '70s wall yet.
I ask her isn't she going to paint that wall and she tells me she's not done yet and has laundry to do and... Alright, alright, I get it. I'll go sit down and stop asking stupid questions. Once she's handled the laundry she's back in full force to finish the other wall. That's pretty much used up the gallon of primer, with maybe enough to go over the spots that need a second coat to hide, but only where you'll see it. A glass of lemonade later and Nick is here ready to run out for lunch for us. He takes the puppy with him and Ann checks the... Okay, still wet. This is going to take a while.
After lunch, Ann uses up the rest of the primer and allows me the honor of cleaning up the paint tray, brush, and roller. That's okay, I know she's tired and I'm not really doing anything anyway. When I'm done with that, she's ready to apply the first coat of paint. Once again she's making the drain holes in the rim then pouring it into the paint tray. This time she's using the mini roller cover rather than the huge one meant for textured walls that she used for the primer. She likes those better than the regular or oversized ones.
As she's getting around the opening for the register, I hear a sort of tearing sound and wonder what just happened. Thinking about it, Ann says I have another repair to make. I wondered if that old paint wasn't too loose, and Ann says it's probably because once it was wetted by this paint, it became just loose enough to be stripped off by the roller. No biggy, I'll get it when I finish the dining room areas that need smoothed. She keeps on going and going until the entire stretch of both walls, the kitchen side extension, and part of the ceiling have their first coat of paint.
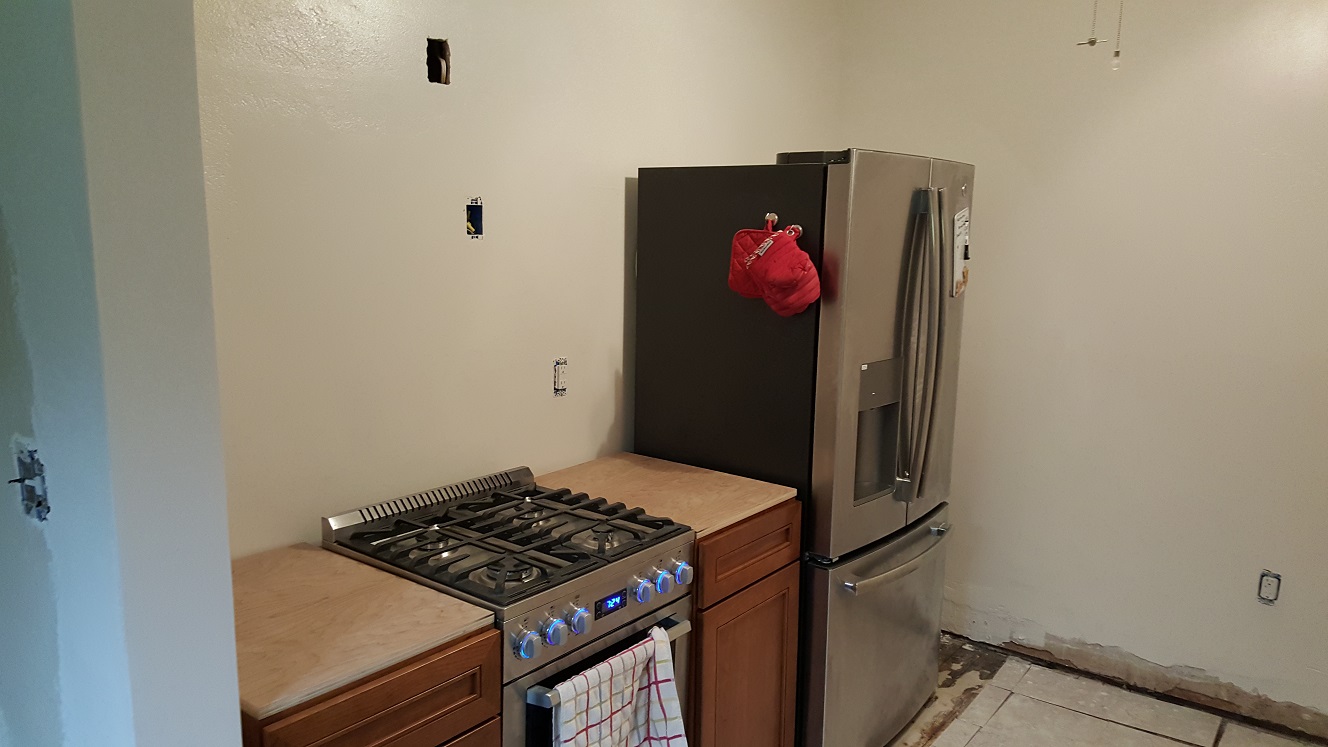
Wow. I'm liking the look of it. Up close, you can see areas of the old, rough plaster and smooth areas where the new patches are. From a distance, it just looks like an old plaster wall. Good enough for the five foot test. Good enough for me. All that remains is the second coat of paint. Ann is ready to go at it again. While she's painting, I decide to head back out to the garage and cut some temporary countertops for the 18" base cabinets. Earlier I had gone out to see what I had in the way of furniture grade plywood, thinking we can leave those cabinets in place until we're ready to refinish the floor. But that's a ways off yet.
The second coat goes on as smoothly as the first. I'm still amazed at how good it looks. I was really expecting some obvious and horrible flaws to immediately be visible. Nope. Looks like a freshly painted plaster wall, and a success in my book. Certainly worth all the effort and persistence. Ten out of ten, will try to save old plaster again! And I am rewarded with the honor of cleaning up the paint tray once again. I set the newly cut and sanded plywood tops behind my chair in anticipation of their use. I need to let the paint dry a bit before I start slinging cabinets around.
By the time I'm done cleaning up the paint stuff, Ann is outside with the puppy, and Nick is sleeping on the couch. I head out to talk with her to see if she wants to set up the cabinets with the new tops so she can cook supper or... Wrong question. No. She doesn't want to cook supper. She just got done painting the kitchen all day. Guess that means we're going out to eat. I head back in, thinking I'm going to go ahead and put those cabinets in place anyway. First I drag the left one in from the front porch, then the right one. Before I can put the refrigerator in place I need to pull up the masonite and vacuum behind it first.
Ann comes in and gets in the shower. Half an hour of pulling all the paint out of her hair later, she sends me in to clean up so we can go out to eat. We head out to Applebee's with Nick for dinner. This time it's not the disaster it was last time, although the service is still a bit on the slow side. We're all tired, and sitting there at the table, it shows. We accomplished a lot this weekend, a lot of work and a lot of reward. I'll be happier when the kitchen is finished, but for now, I'll take this win and continue on.


(Monday - 12 March 2018)
When I get home from work, I 'm on my own for dinner and anything else. Ann has a dinner meeting for work
and Nick is busy doing something, I'm not sure what, but Ann had already told me he wouldn't be able to
help me set the pantry in place. I get the animals fed and things set up to drag the pantry in from the
front porch and wouldn't you know, Nick shows up asking if I wanted something from McD's for supper since
he's on his way there to complain about the raw burger they got there yesterday. At first I'm like no, I'm
all McD'd out, but decide something is better than nothing.
When we're done eating, Nick takes the dogs out as I drag the pantry in. He's standing there watching me as I set it in place, telling me I'm about to hit the globes on the ceiling fan lights, helping without helping I guess. I don't know if he's waiting for me to screw something up or ask him for help or what since he's still standing there looking at me. I tell him he doesn't have to stick around, his mom already said he wouldn't be able to help me, so if he has something he needs to do, he can go do it. Off he went. Still don't know what's up with that though...
Then I decide to set the other side of the refrigerator surround in place to test fit the layout, door swings, etc. It looks like giving the pantry the full 3" filler width still won't be enough to avoid using the restrictor clips on the hinges. At least that should give me enough clearance behind the stove to not have to move the gas line and shutoff valve. Now whether the wall cabinet will have enough clearance to not hit the wall even with the restrictor clips is a different story. Guess I should check that before I go forward with this layout.
That's not the only thing that's stopping me from mounting the wall cabinets either. Something is telling me I should wait until we're ready to hang them once and for all. I may just be overthinking it like I always do, but I'd rather not have to do it over again. After talking with Ann about it, she agrees we should wait and not end up having to redo it. So for now, hanging the wall cabinets is on hold. Sorry if this page misled you.
(Tuesday - 13 March 2018)
I look at the wide open electrical boxes and decide it's time to put on the outlet and switch covers.
As I'm searching for a regular duplex cover and not the rectangular ground fault style one, I realize
I forgot to swap out the outlet on the left of the stove with the new ground fault outlet. Oh well. I
will get to that soon enough, but I'm not messing with it tonight. In fact, for now, I'm pretty much
done messing with installing cabinets until the floor has been refinished. Taking cabinets out, now
that's a different story. Or not...
(Wednesday - 14 March 2018)
Ann asks if she gets the handle and drawer pulls for the cabinets after supper, could I put them on.
First thing out of my mouth is, "Are you buying enough for all the cabinets or just the ones there now?"
Well, that certainly started some shit there... I head back to my computer to do some work while she
and Nick finish cooking supper and don't come back out until it's ready. Not sure why asking that simple
question made it sounds like I'm questioning her intelligence, but that's the way she took it. Whatever,
just trying to help...
So Ann presses the question at the dinner table, will I be able to put them on? I tell her I'll have to make a template so they're all the same and lined up properly, and tell her as long as I can put something together, sure. She really hates it when I caveat things like that. All things being equal, I know what happens when I jynx myself and just say, "Sure. No Problem." Then run into a problem. While they're gone, I get the drawer measurements and head out to the garage to see if I can't put a template together real quick, to surpise her and show I'm not just trying to make excuses.
No sooner than I'm hanging the template on the drawer face do they pull in the driveway. I leave it hanging there and sit down in my chair in anticipation. After the look at the deals I got shown, I have a look at the bag with the handles and find two bags of ten identical bar style handles and a set of plastic templates. Wow. I didn't know they made such a beast. So much for all the trouble I went to... I'm looking at the templates to see how they're supposed to work. The minimalistic instructions aren't helping, but I start by masking off all the holes I won't be using.
The drawer template assumes you can easily mark the centerline of the drawer or somehow align the center of the template with the center of the drawer face. I end up "marking" the center with a small piece of tape in the correct location. From there, it's somewhat easy to align the center hole over the edge of the tape, then drill a couple of pilot holes in the correct location. Follow those up with the correct sized drill bit and on the handles go. The cabinet doors are even easier since the template aligns with the corner of the door. Just drill the pilots and follow with the correct sized bit. There. All six of the handles installed and all the sawdust vacuumed up.
There. Now I'm done with installing cabinets. On to removing the remaining cabinets and getting to the plumbing that will need reworked behind the (rotted) sink base. I have no idea what to expect until I get the old sink base out of the way and can get behind it to see.
More to come, so stay tuned...
The finished product will hopefully be well worth the effort and all the headaches.
<< Previous | Kitchen | Demolition | Plaster '70s Wall | Plaster Cabinet Wall | Wall Cabinets | Sink Cabinets | Plumbing | Plaster Sink Wall | Flooring | Cabinets | Countertop and Sink | Finishing Touches | Next >>