The Finishing Touches On Our 2018 Kitchen Rennovation To The Nest
<< Previous | Kitchen | Demolition | Plaster '70s Wall | Plaster Cabinet Wall | Wall Cabinets | Sink Cabinets | Plumbing | Plaster Sink Wall | Flooring | Cabinets | Countertop and Sink | Finishing Touches
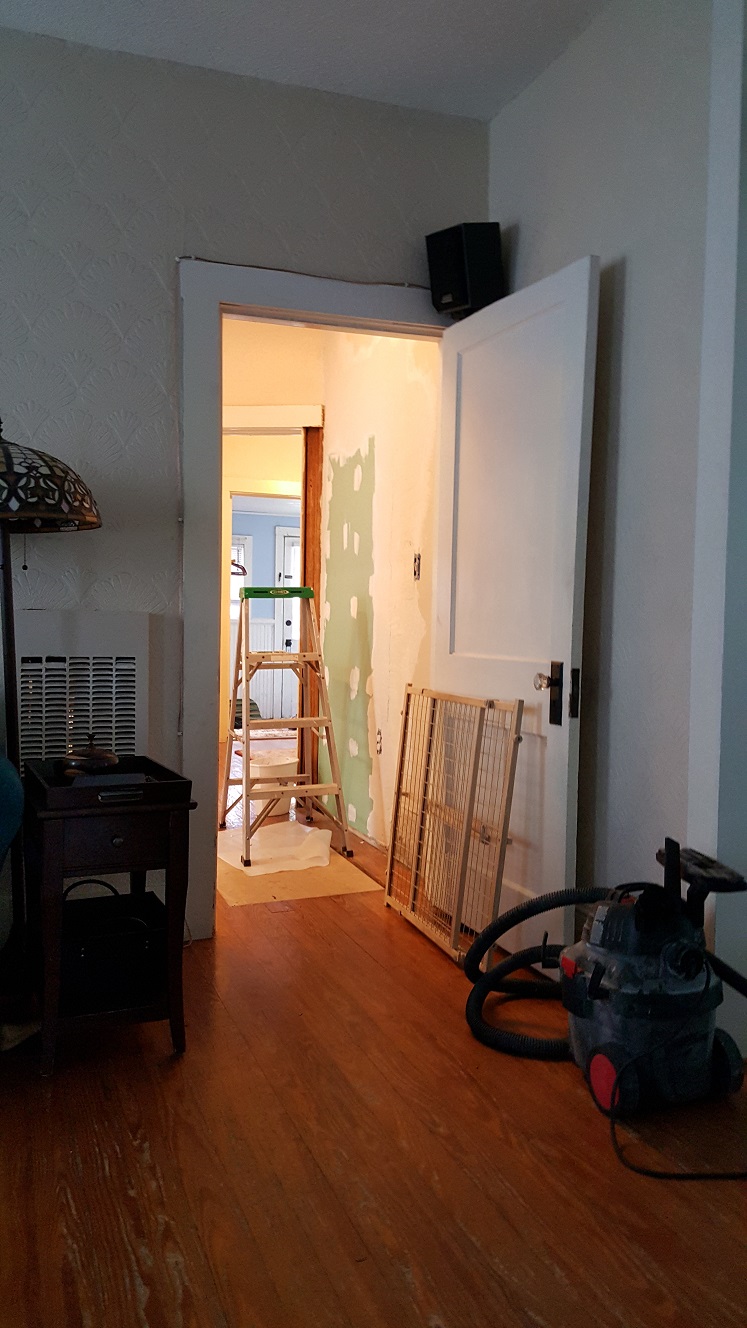
For the most part, once the counters are finally installed, the kitchen is pretty much complete. The exceptions would be the door to the side porch and the various places where the plaster could use some extra attention, including caulking around the window trim and such. The stove could probably be a bit more level, but considering I nearly sliced my finger off last time I tried to level it, I think it's good enough for now. It's certainly nice to finally have our kitchen back in working order and better than ever.
It's nice to finally take "a breather" from all the work too, if you can call it a breather. For most of June, the kids keep calling with the latest "needs fixed" reports, and having to work on the other house seems to have taken its place. The pool pump is spraying water everywhere, but that's a long story. Ann is helping the kids dig out along the office wall and put in stones to enhance drainage away from the house and tells me that they are having a helluva time of it trying to keep up with the lawn with just a push mower when she gets back. We buy them a new lawn tractor and deliver it, but it's another long story... Just when I thought it was safe to start working on the backyard railroad again... Well, until I get some more track, I'm at a standstill there too.
(Tuesday, 3 July 2018)
We've always enjoyed fireworks and the 4th of July holiday. In the past, I would at least walk down to the corner
of our block, where we can see the highest part of the display anyway... Well, this year I walked downtown to meet Ann and
Nick to watch the fireworks display. Awesome. Totally awesome. Best fireworks we've ever been to anywhere. I forget why I
was sitting at the house waiting to walk down to join them, but I remember I was busy with something on the laptop. They
had gone downtown earlier to check things out, but Ann texted saying they had a bench for us to sit on right there and said
to come on down and meet them. Off I went and boy am I glad I did! Maybe part of it was waiting to see if the kids showed
up from the other house.
(Wednesday, 4 July 2018)
Taking the day off 8'D
As much as I needed a break from working on the kitchen, I needed a break from work too. It's been less than satisfying,
shall we say? In a nutshell, I'm working with older technology that I don't really care for, in the sense that I don't
totally agree with the premise it's based on. Probably the best way to put it is having to learn all about how it works
is not in the best interest of my career. But it's not my decision, so trudge ahead it is... For now.
(Saturday, 14 July 2018)
First thing this morning I'm off on an adventure to pick up more track from H&R Trains over in Tampa for the backyard
railroad. It's a bit of a trek, a little over two hours, but I finally manage to make it there. I have a look around and
finally load up and head home. The rails are 10' long and I have to stand them up in the garage. So now I just can't wait
to put together a length of flex track, one section of tie strip at a time. Eventualy I have a 10' pice of flex track
assembled on the living room floor. As always, it's a long story, and you can
read all about my renewed excitement here...
(Saturday, 21 July 2018)
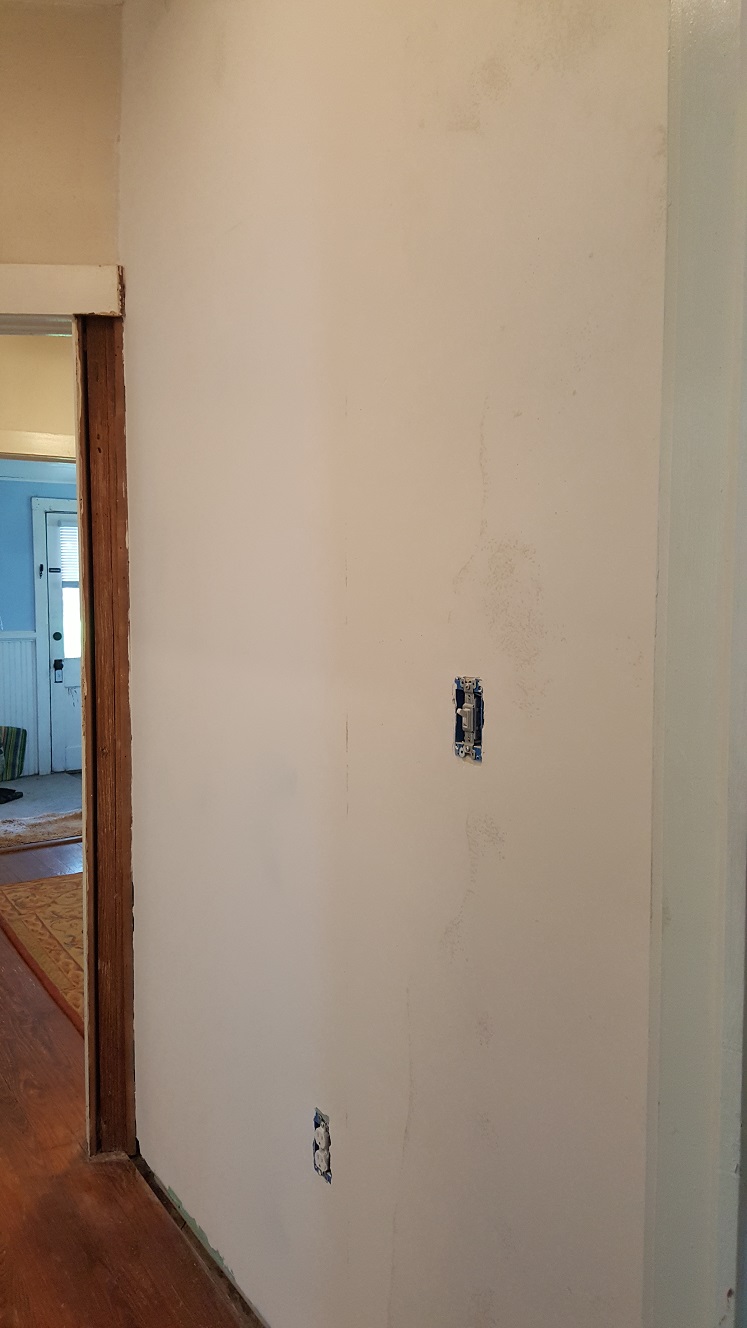
Well, that seeing that renewed interest and progress on the railroad must have awakened the desire in Ann to have the hallway
finished too. At first we thought we would also fix the plaster in the dining room while doing the hallway plaster, but Ann
doesn't want all that mess again, having just gone through cleaning up dusty mess after dusty mess from the kitchen plaster.
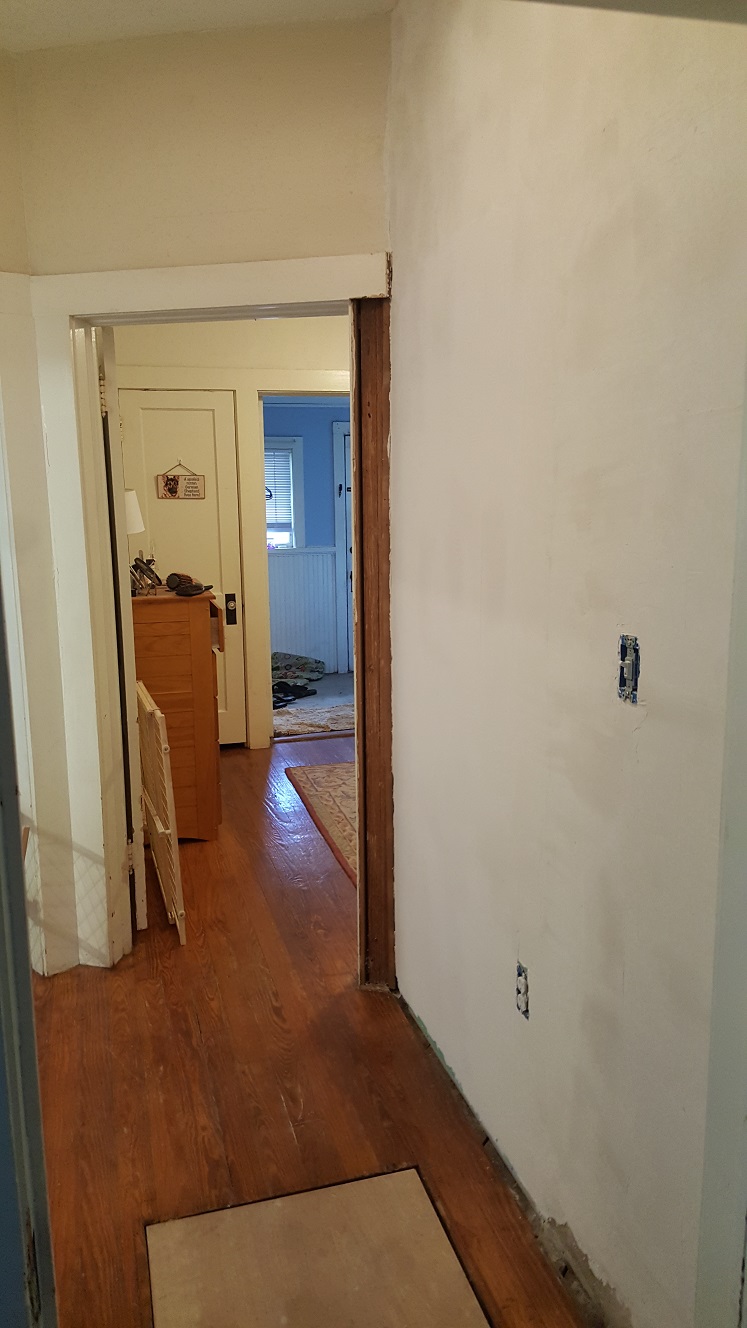
The thought for now is to just finish the hallway plaster... So, time to mud the hallway and get the rest of this exposed
plaster under wraps.
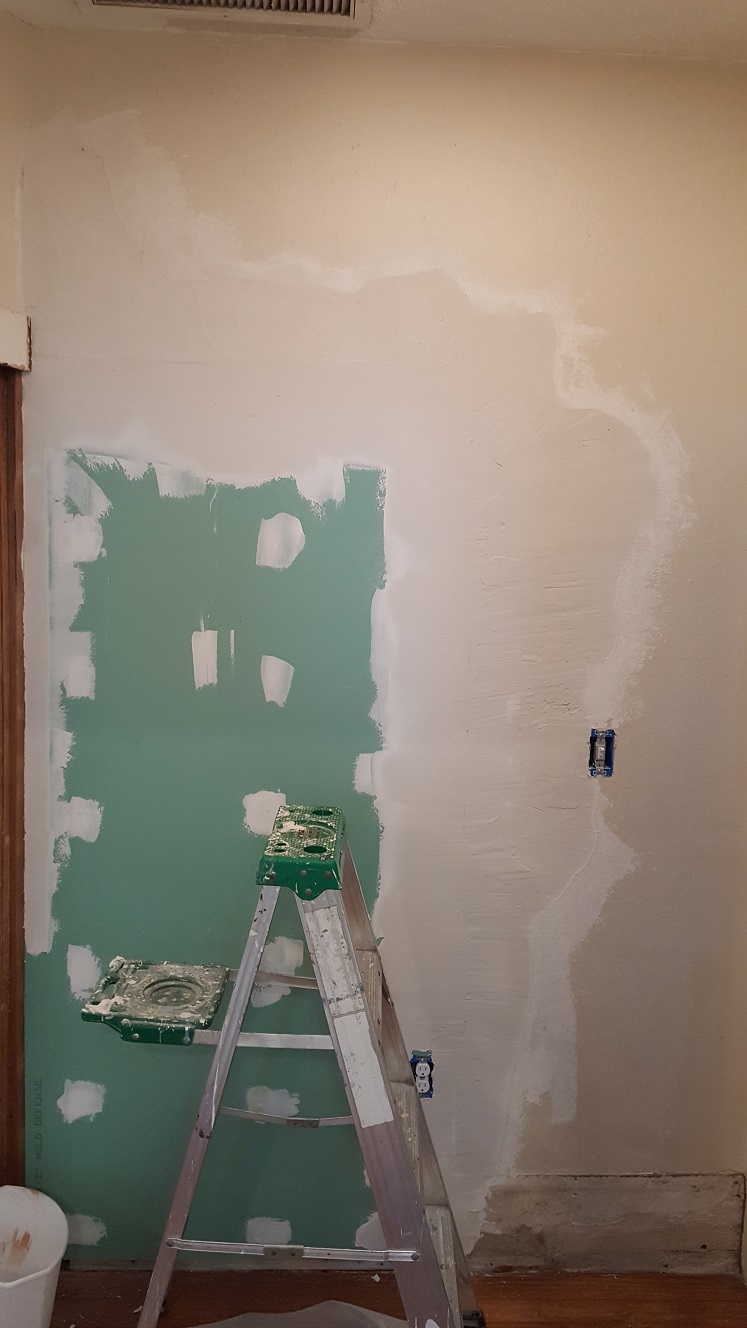
I have some prep work that needs done first, like removing the no longer used metal electrical box and the rest of the loose top coat plaster. It makes quite a mess... I had forgotten how messy it is. Thankfully Ann already has that little shop vac out to clean up the mess our constipated cat has made on the front porch, so I use that to get the plaster demolition mess up off the floor. Now to mix up some mud... I only have maybe a bucket or so of hot mix left in the bag from the kitchen, but I can get at least that much applied. I get most of the wall first coated. Had I not run out a half bucket short, I could have finished that first coat. At least, that's what I thought.
Ann and Nick were kind enough to grab another bag of hot mix for me when they were at Lowe's getting what they needed to make a cover for the cat's litter box for the front porch. It even has a light in it! Anyway, I thought I only needed a half bucket. An entire bucket later, I did get most of that wall first coated, and what little I missed is along the edge by the trim where it won't be an issue to finish next time. I wanted to try to start a skim coat over the drywall, and I think that's what took the extra mud. I still want to skim coat the entire wall though. What we ran into in the dining room was the new parts were quite a bit smoother than the older plaster sections, and it catches your eye. The only concern I have is whether the thicker parts will be dry by tomorrow or not.
While I don't really have to sand, I'll still probably need to "knock down" the high spots with the putty knife before adding another coat. Guess we'll see tomorrow...
(Sunday, 22 July 2018)
The plaster is still somewhat damp this morning, and after looking it over, I should have done some more levelling with
the putty knife yesterday while it was still damp - when I was able to just peel thin layers at a time. That's usually the
problem though, being able to see what I'm looking at. I decide if I do anything on it today, it will be to put a skim
coat of mud over the entire wall. With Nick and Ann off to the grocery store, the idea of being in the middle of a bucket
of mud and having to get through the kitchen while they're unloading groceries when they get back does not particularly
thrill me. Then when they say don't eat anything while we're gone, we're having those steaks we just prepared for lunch
when we get back, well... Needless to say, between that and more rain today, nothing else got done on the hallway.
<< Previous | Kitchen | Demolition | Plaster '70s Wall | Plaster Cabinet Wall | Wall Cabinets | Sink Cabinets | Plumbing | Plaster Sink Wall | Flooring | Cabinets | Countertop and Sink | Finishing Touches
(Friday, 27 July 2018)
As a bit of an aside, this morning I signed the offer letter accepting a job at a new company. I've yet to resign from my
old company. That will wait until Monday when I go deliver my resignation letter to my boss in person. I can't describe
how torn I am about all of this. All I know is I can't continue to work like this. Once that's done, I just have to make
sure that the old job gets the attention it deserves working from home today... Oh wait, that's right! I actually took
the day off to burn that last eight hours of holiday time I had banked! I'll just leave it at that...
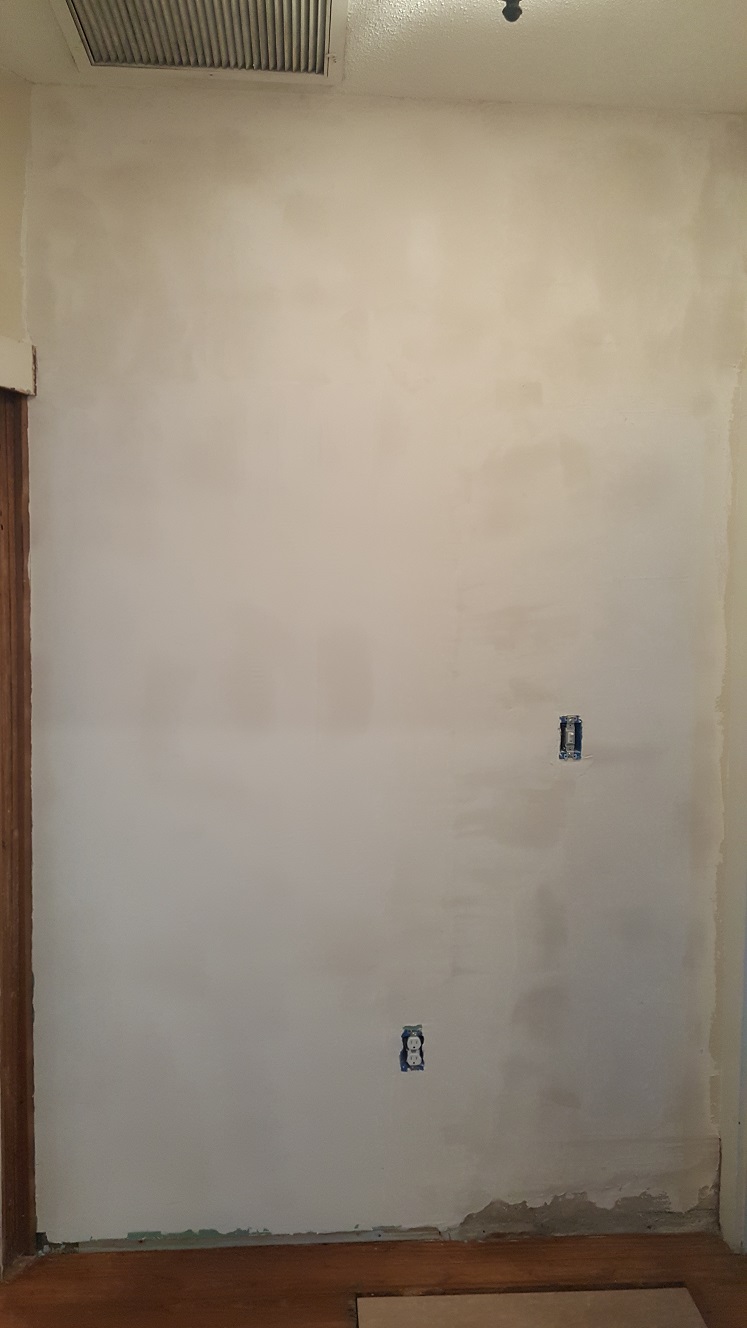
I do manage to get a skim coat of plaster over the entire wall in the hallway though. It takes two more buckets of mud, and I'm just able to stretch that last bucket far enough. If I've learned anything from doing all of this plaster work, it's that I haven't learned when to leave well enough alone. More than once I went back over a stretch just one more time to make it just a bit smoother, only to have the putty knife start to "bounce", leaving a trail of "waves" in the fresh plaster. Oh well, it's nothing a little sanding won't take care of, but it is something I'd really like to learn. With that done, it's time to clean up and get some more done on the garden rail. Well, I did get cleaned up, but not much more happened on the garden rail today.
(Saturday, 28 July 2018)
So today I'm sanding, actually screening the plaster in the hallway... And screening. And screening. And once it's done,
I'm able to burnish it, and it's ready for primer and paint by early afternoon. Sitting here this evening, Nick "flashed" my
phone with the most recent android it supports, mainly to fix the problem with it not being able to apply the system update
and failing for the millionth time... Doing so erased everything, and I'm slowly getting everything back to normal.
Imagine every application you've ever used on your phone needing to be setup for the first time, again, as if you'd never
used it before. Yeah. That much fun. But at least the system updates work now. Long story short, the only pictures on the
phone would be the ones of the hallway plaster, if I took any at all.
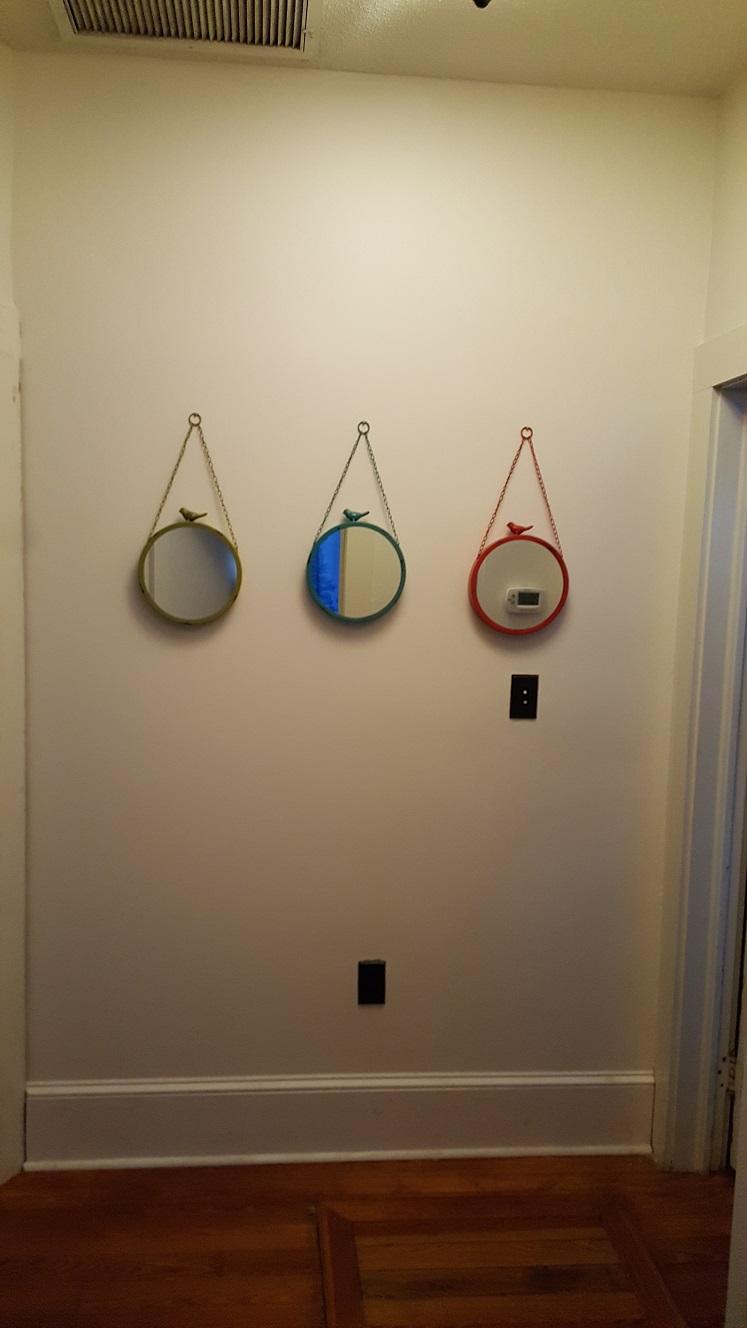
(Saturday, 4 August 2018)
Ann is painting the hallway today. and I'm sitting here writing this, still in my robe, mainly because I can't get into the
bathroom to get my shower. There's a gallon of paint sitting on the floor tile, and Ann on a ladder in the hall blocking my
access. I do hope to get outside and do a bit more on the backyard railroad today though. Without the ability to rip 2x4s
into the slats I need to make new stringers, that kind of needs to happen first, restoing the ability to rip with the table
saw.
Ripping Restored...
(Sunday, 5 August 2018)
Today I get to try to put the hatch back together. Ann finished painting the hallway yesterday and that will be the last
thing that needs done, except for painting the trim, which she really didn't feel she had the patience for today. The first
thing I'll need to do is get the shimming in place to correct the height, then I can figure out how to put all
the pieces back together and fix the "bad spots". I'm hoping that the new pulls are as wide as the floor boards because
that would let me cut the worst bad spot out of the board altogether where the pull goes. We'll see...
Knowing I'll probably have to rip those shims to size, it's time to get the garage squared away, at least enough to have access to the table saw... I figure I'll need to lay out those hatch pieces first, just to try to get an idea of what I'm looking at to put it all back together. Right now, it's just two pieces of ¾" furniture grade plywood, stacked one on top of the other, and usually covered with a rug. So one of those chunks of plywood has to go, replaced by the boards from the old hatch. Once I have the four "frame" boards laid in place, I realize they are a very tight fit and will need "shaved" before I can do much more. Here shaved means ripped, meaning ripping must be restored!
Until I could clean up the garage enough from all the previous work on the kitchen, I still had stuff stacked on the saw table, and everywhere else for that matter. The hatch had to wait until I could get to this point. I take the time to rid up and at least get things back in their places, like the screws back in the screw cabinet, and the drywall screening rig back in the shed, etc., etc. It's not the major overhaul it needs, but it's at least enough to once again have access to the table saw. While I want to rip those hatch boards, I notice they all have the tongue cut off flush along the inside and the groove part to the outside, with nothing to support the small piece of wood above it.
In fact, the two shorter boards have already cracked along it, with the one piece totally broken off (and sitting on top of the bookcase in my office waiting to be glued back together). I figure I'll need to cut the tongues off of some of the newer floor boards I have sitting in the garage and glue those in place to provide support and resist further damage in the future. For now though, I can't wait for glue to dry, so it will have to wait. That's alright though, it gives me a chance to figure out how to rip the spacer piece I need to cover the openings in the subfloor to be able attach the baseboard and trim. With that in place, I install the baseboard and nail in the trim. Ripping restored!
(Mid August 2018)
A lot went on during this time... My last day of work was the 10th, but I started my new job the 13th,
and I had homework! A bunch of paperwork! More like online forms, but it needed done before I could start.
I had to scramble to schedule the drug test in time. I don't know why they waste their money testing me, but "drugfree
workplace". Whatever. Funny how I still smell alcohol when passing by certain cubes at the office... Shroog.
Anyway, some time later and with the ability to once again use the table saw, I'm able shave the floorboards that frame the hallway hatch. They used 45° miters to make the fit of the frame border very tight, but this is going to be a hatch, so there has to be a certain amount of "slop" to allow access. My first approach is to shave only two of the four frame boards. I figure I'll only need to shave about an 1⁄8" off, but that's proves to be too little, and an incorrect assumption. I shave the other two, but it's still not enough?
Thankfully the width of the hatch pull is very close to how much of the damaged board I need to cut off, so I'll be able to do what I wanted, which is to cut that board roughly in half. This will allow me to separate the two "halves" with a new piece of wood, hidden by the pull, then lop off the damaged end. At first, the angle looks to be a bit more than 45°, but a quick fit after cutting shows that 45° it is. That little more does the trick, but now I need to glue the tongues I had already cut off of some newer floorboards into the grooves where the old ones had cracked, one completely missing the upper piece (that I saved and has been sitting on top of the book cabinets for nearly two years now).
It took every last clamp I had, and I still could have used more! That's pretty much it for the hatch for today, at least until the glue sets up anyway. That gives me some time to work on the piece to back the new hatch pull. I decide to use a scrap piece of the ¾" furniture grade plywood, the exact width and length of the pull, with a hole cut out to fit the roughly 2½" outline, kinda sorta... If only it were that easy. The cutout only needs to be as deep as the recess is for the pull itself, roughly 3⁄8" deep, or about half the height of the chunk of ¾" plywood. Again, if only it were that easy. There is also an nearly square area where the "hinge pin" for the pull mounts, and another for the finger recess the allow access to the pull.
I line up everything on the chunk of plywood and mark the center for the hole saw. The cut is close enough to the edge that I can see how far I've cut, stopping about halfway through the thickness. Next I chisel out the center piece, which pops right off, but so does one of the corners for one of the mounting screws... Great. I'll have to glue that back on later. I put the piece in my shirt pocket for later and continue with the "fabrication". I decided to just "dado" a square opening the same depth as the circular cutout. It takes a bit of trial and error to get the depth right for the hatch pull assembly to fit, but it finally does, and I'm satisfied with it. Now to glue that extra piece back on... I set the hatch pull on top of it to act as a weight until the glue sets up.
Once the glue on the frame boards is set, I shave the tongues that are sticking out to the same width as the rest of the board. A test fit shows that everything is now sized correctly, so I begin to reassemble the remaining boards in their tongue and groove fashion. Originally, there were two pieces of what looked like ¾" corner molding, one on either side of the rest of the tongue and groove section. These pieces were also in poor condition, and not likely to be easily repaired. I didn't even bother to get them back out, preferring to use one of those floorboards I "scavenged" when closing off the doorway between the kitchen and the hall. After neatly slicing through a number of those damned staples we cursed when refinishing the kitchen floor, I was able to rip the width just shy of the remaining staples and pull them out with a pair of pliers.
I rip the piece to final width, cut it to length, then dado out a groove to match the tongue of the board it will mate with. A little "finagling" later and I'm screwing it all back together. The only pieces that are nailed to the underlying piece of ¾" plywood are the frame pieces, for the most part where they were originally nailed down over the old oil furnace. I had to drill a few new pilot holes, but we'll worry about that when we decide to refinish the rest of the floor to match the kitchen. The rest are screwed down through the old cut nail holes in the tongues. Where they want to split, I drill a new hole and start over. I glue the new piece for under the hatch pull in place, then screw it down to the underlying plywood. Then I place the hatch pull in place and screw it down. Wow. Just Wow. It looks great! And I'm able to lift it out by the pull! Finally done nearly two years after we started!

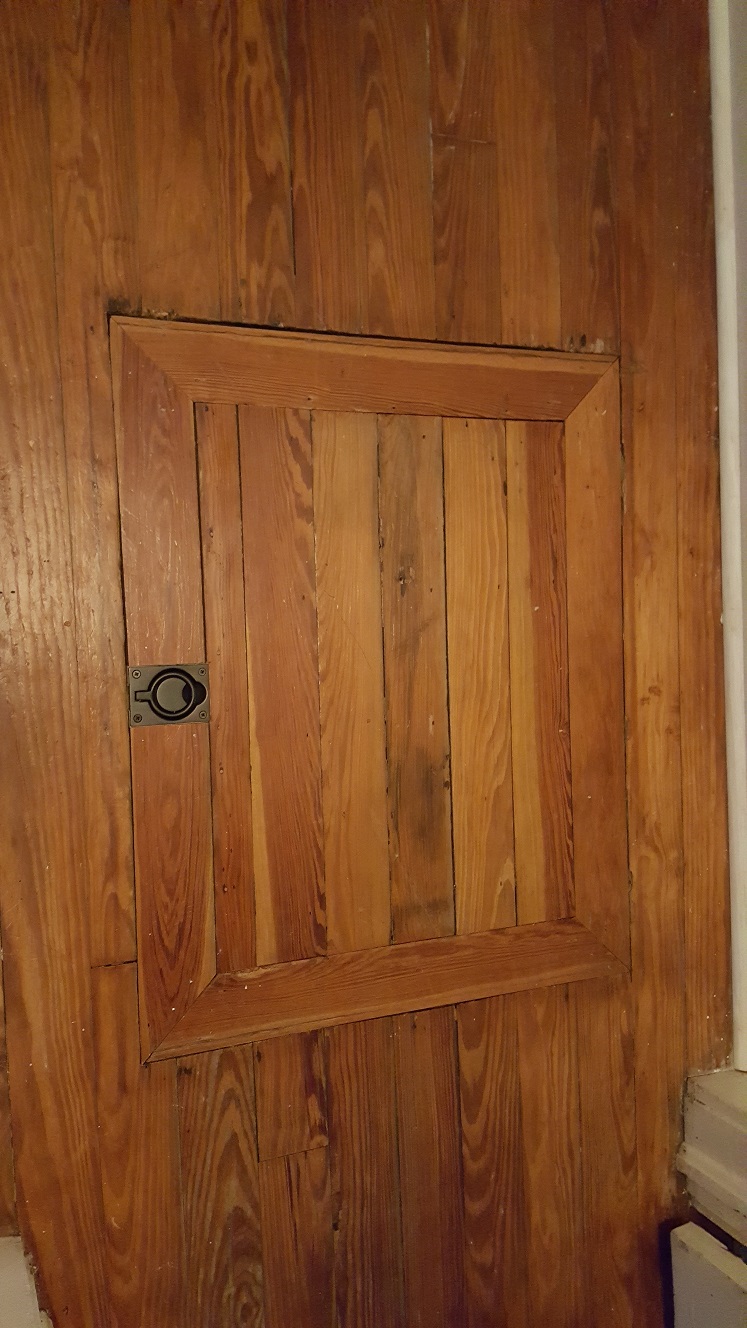
The finished product is well worth the effort and all the headaches!
I found it rather interesting that the old plaster and lathe walls provide better insulation and sound deadening qualities than the modern gypsum board construction. The plaster is impervious to black mold, unlike drywall, whose cardboard backing is food for mold. To be fair, the lathe and studs inside of the bathroom wall that had been in a constant state of "damp" appeared to be growing the black mold. But then again, it had been covered over with drywall, so perhaps it had been feeding it and allowing it to grow where it normally would not have grown.
<< Previous | Kitchen | Demolition | Plaster '70s Wall | Plaster Cabinet Wall | Wall Cabinets | Sink Cabinets | Plumbing | Plaster Sink Wall | Flooring | Cabinets | Countertop and Sink | Finishing Touches